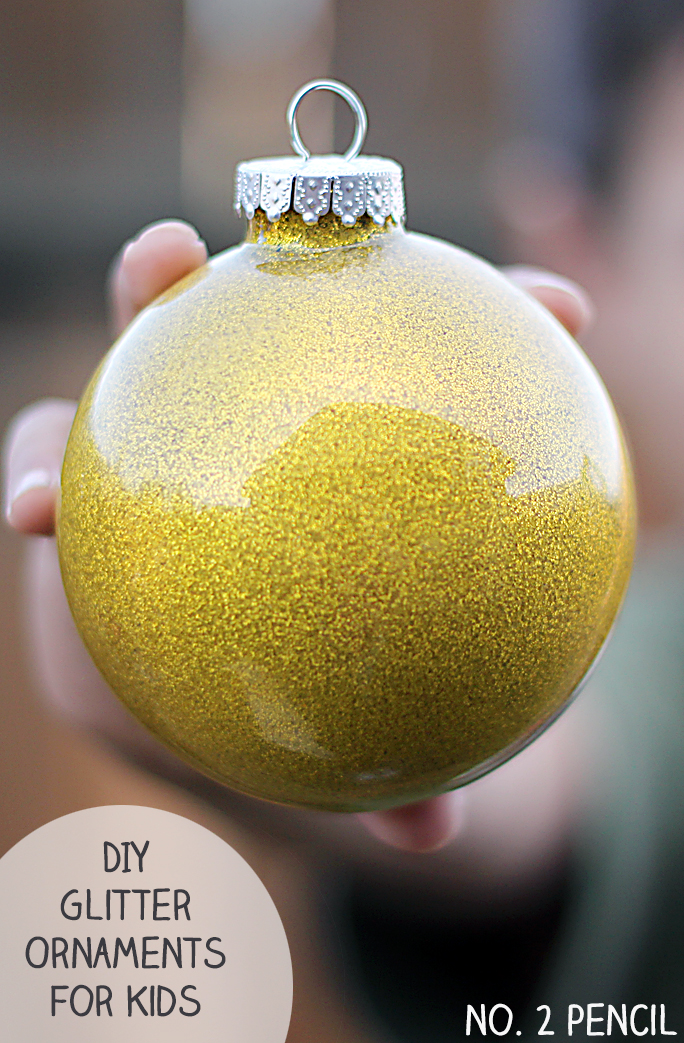
Last week, we took the Wash Out for Kids Mod Podge for a spin and made these simple and pretty glitter ornaments. We had a lot of fun, and it was a quick and easy craft to do with the kids.
Supplies needed:
Clear plastic or glass ornaments, we tried both and each worked perfectly.
Wash Out for Kids Mod Podge
Glitter
Funnel
Disposable cup to hold ornament
Masking Tape (optional)
Here’s a step-by-step courtesy of my little guy, Max. His favorite color is yellow, so we used yellow glitter. My little girl Sadie made a pink one, but she was harder to catch on camera.
Step 1: Pour Mod Podge in ornament using funnel.
Step 2: Pour excess Mod Podge back into container and wash funnel.
Step 3: Pour a generous amount of glitter into the ornament.
Step 4: Cover top of ornament with finger, or seal with tape, and shake, shake, shake. Pour out excess glitter.
Step 5: Let dry upside down and overnight by placing in disposable cup.
I’d love for you to keep up on my new projects and recipes by clicking on these cute buttons below, and follow me on Facebook and Twitter. You can also find me on Pinterest, that’s my favorite place to hang out and I’d love to see you there.
Linking up at: I Heart Nap Time, Tatertots&Jello
More fun Chrisrmas ideas:
5 Easy Dinner Ideas for Busy Weeknights

My five FAVORITE recipes for busy families!
- Quick to make
- Light on your budget
- Easy to clean-up
- and...most important...absolutely DELICIOUS


So cute Melissa! My daughter would LOVE the sparkly pink 🙂 I need to bust out our washable Mod Podge from an old campaign, I haven’t tried it yet! Preschool craft this week!
So pretty, Melissa! I can’t wait to do crafts like this with my little one 🙂
These are so cute AND easy! I can’t wait to make these with the little guy! 🙂
Hi Melissa, I tried these with my daughter but they came out dull instead of shiny. Do you have any suggestions – too much mod podge, not enough glitter? Thanks, Penny
Hi Penny,
Did you use Mod Podge? It dries crystal clear. Can you explain what you mean by dull?
Did you use the fine glitter instead of the bigger glitter?
I can’t seem to get mine to be even and what kind of mod podge is it the one i used is white and it shows in the ornament
The Mod Podge should dry clear!
Hi Penny,
I did this a few years ago (with floor wax instead of mod podge) and used multiple colors of glitter. I turn the ornament a bit so I could get it right on the side and the effect is gorgeous. 2 years later and they still look good. We used plastic and gave one to everyone we knew for under $1, they made great teacher/coach/volunteer gifts.