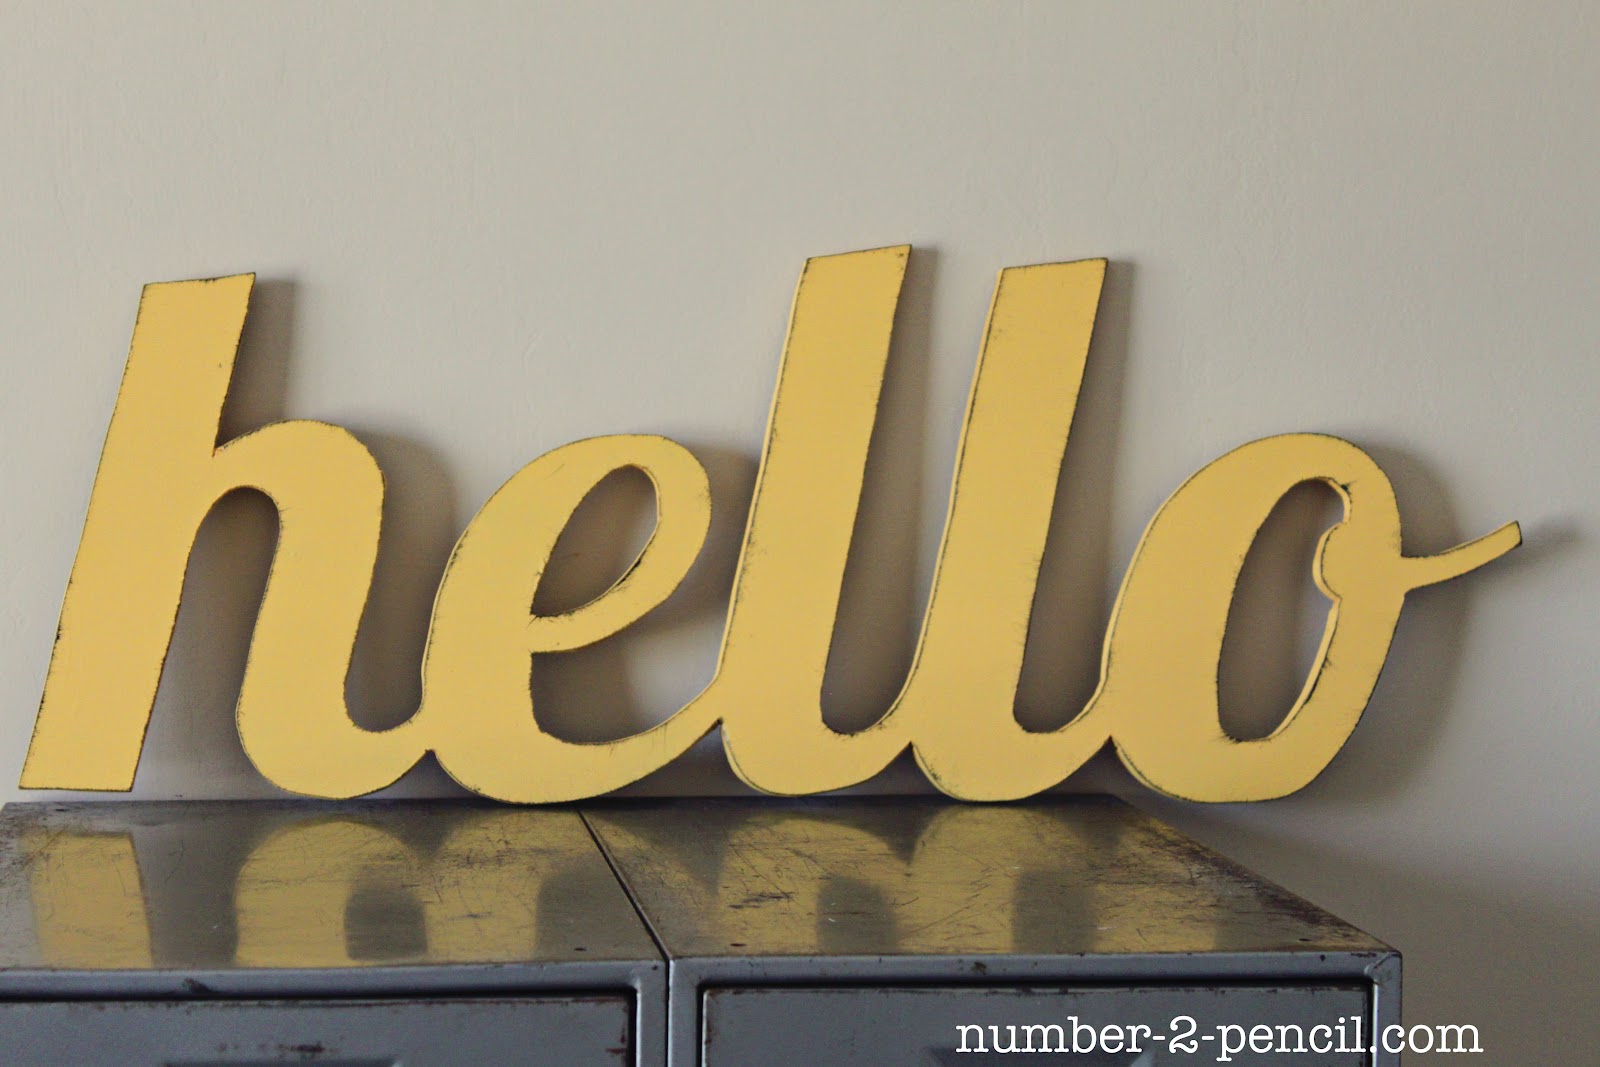
I’ve been working on updating our kitchen, and I needed something special for the area above the sink. I love the retro EAT signs, but wanted something a little different, so I decided on a big “hello.” I documented the step-by-step process, so get your jigsaws ready, and let’s make some vintage style word art out of inexpensive and easy to use mdf!


Supply List
MDF (medium-density fibreboard)
Jigsaw
Drill
Clamps
Mouse Sander or Sandpaper
Paint
Glaze, or black paint
pencil
Optional – Silhouette Digital Cutting Machine to create template
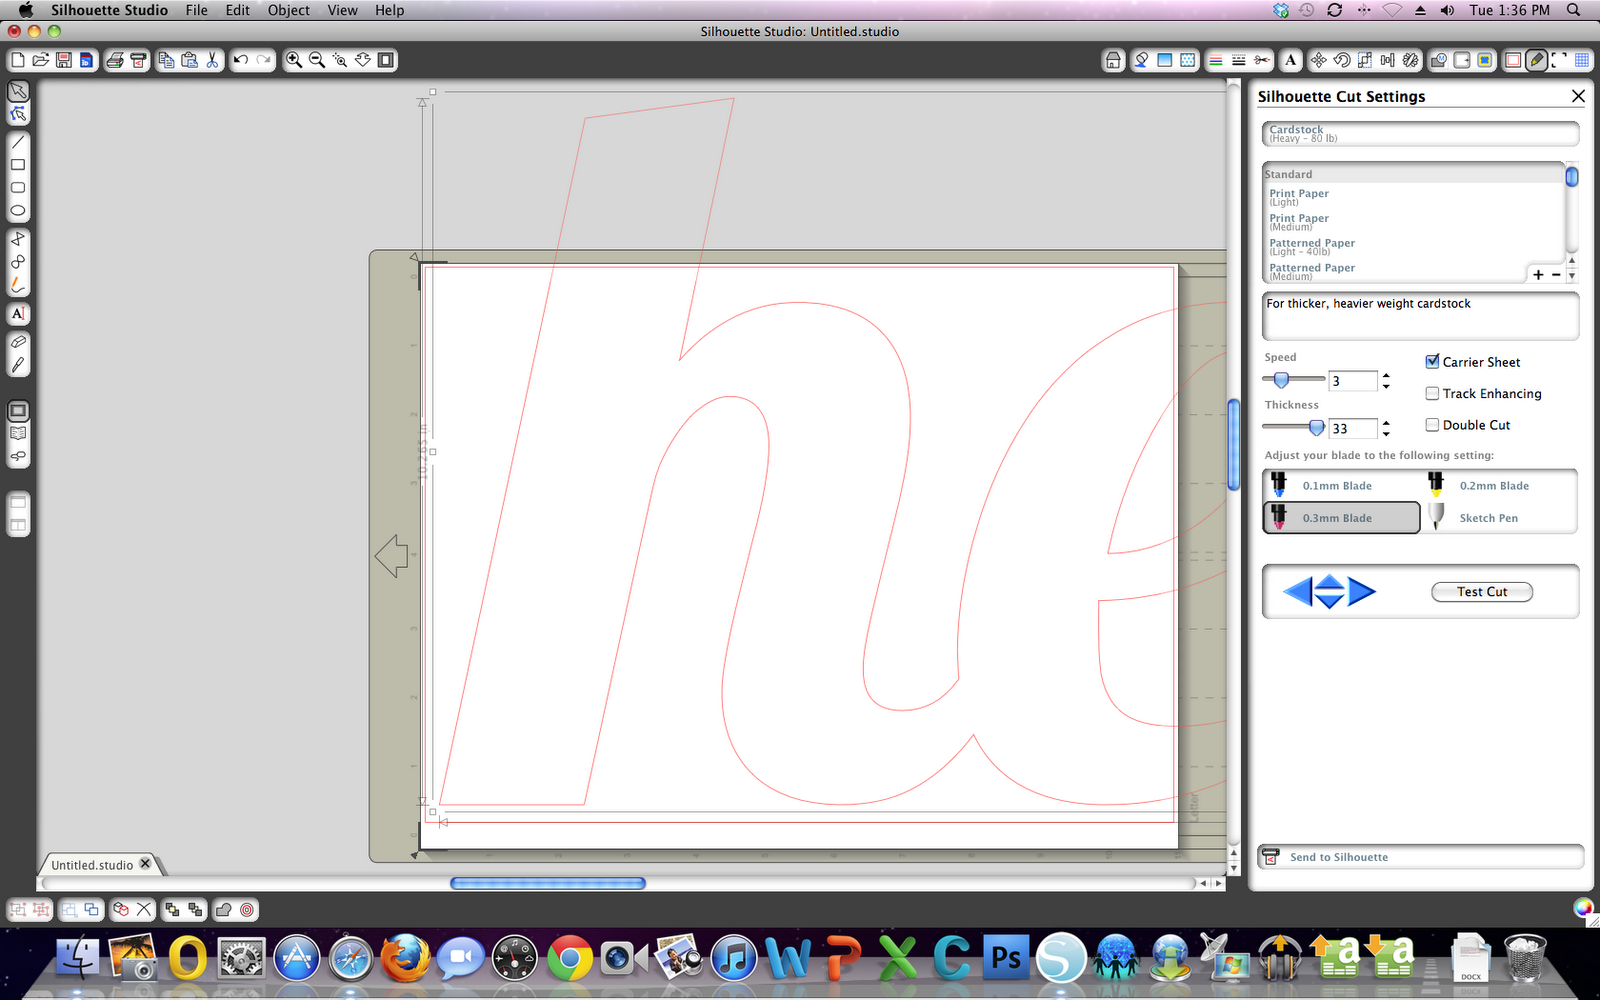
I started by finding the font I wanted to use, a simple retro style script called Lobster. It is available to download free here. I love my Silhouette because I can cut any font I download. Awesome!!!
In the Silhouette program, I welded the letters together and enlarged my word to the real life size, which was 28 inches wide by 11 inches high. Since this was outside of my cutting area, I just cut the word out of card stock section by section and glued the pieces together, like an overlapping puzzle.
If you don’t have a Silhouette, you can freehand it, like I did here, or print your word on a regular printer using the tile option and cut the word out by hand to create a template.
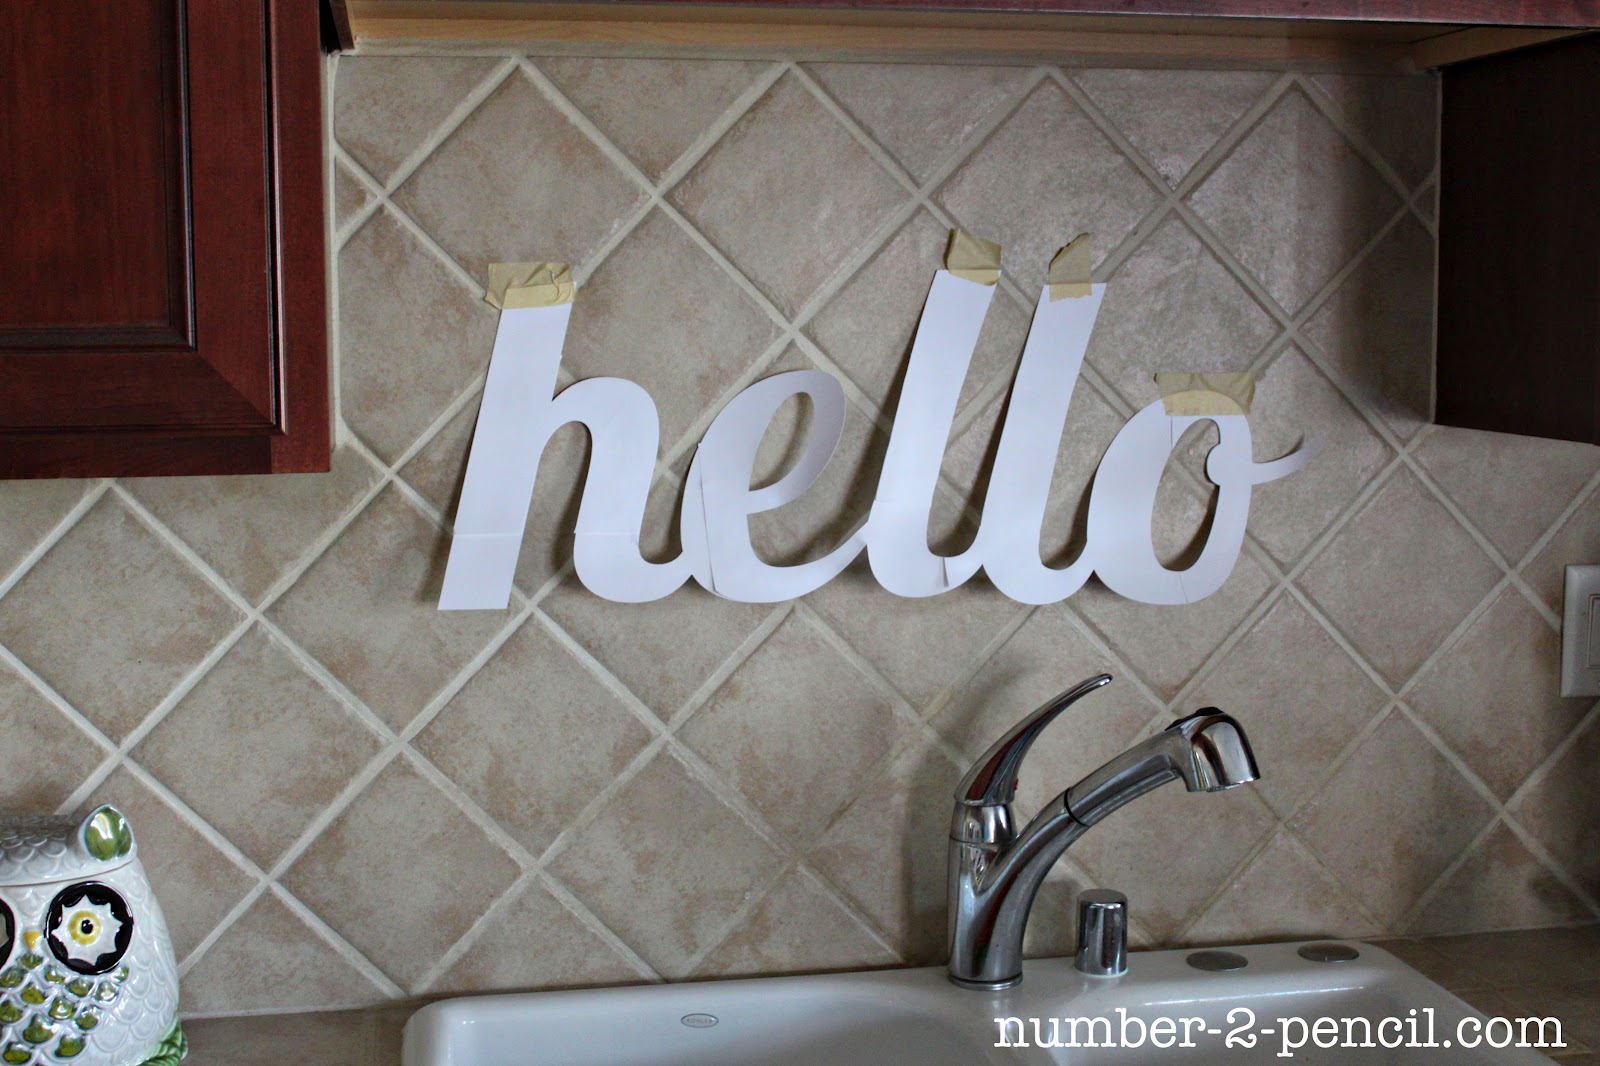
I taped up my template just to double check the size for my space. Looks good!
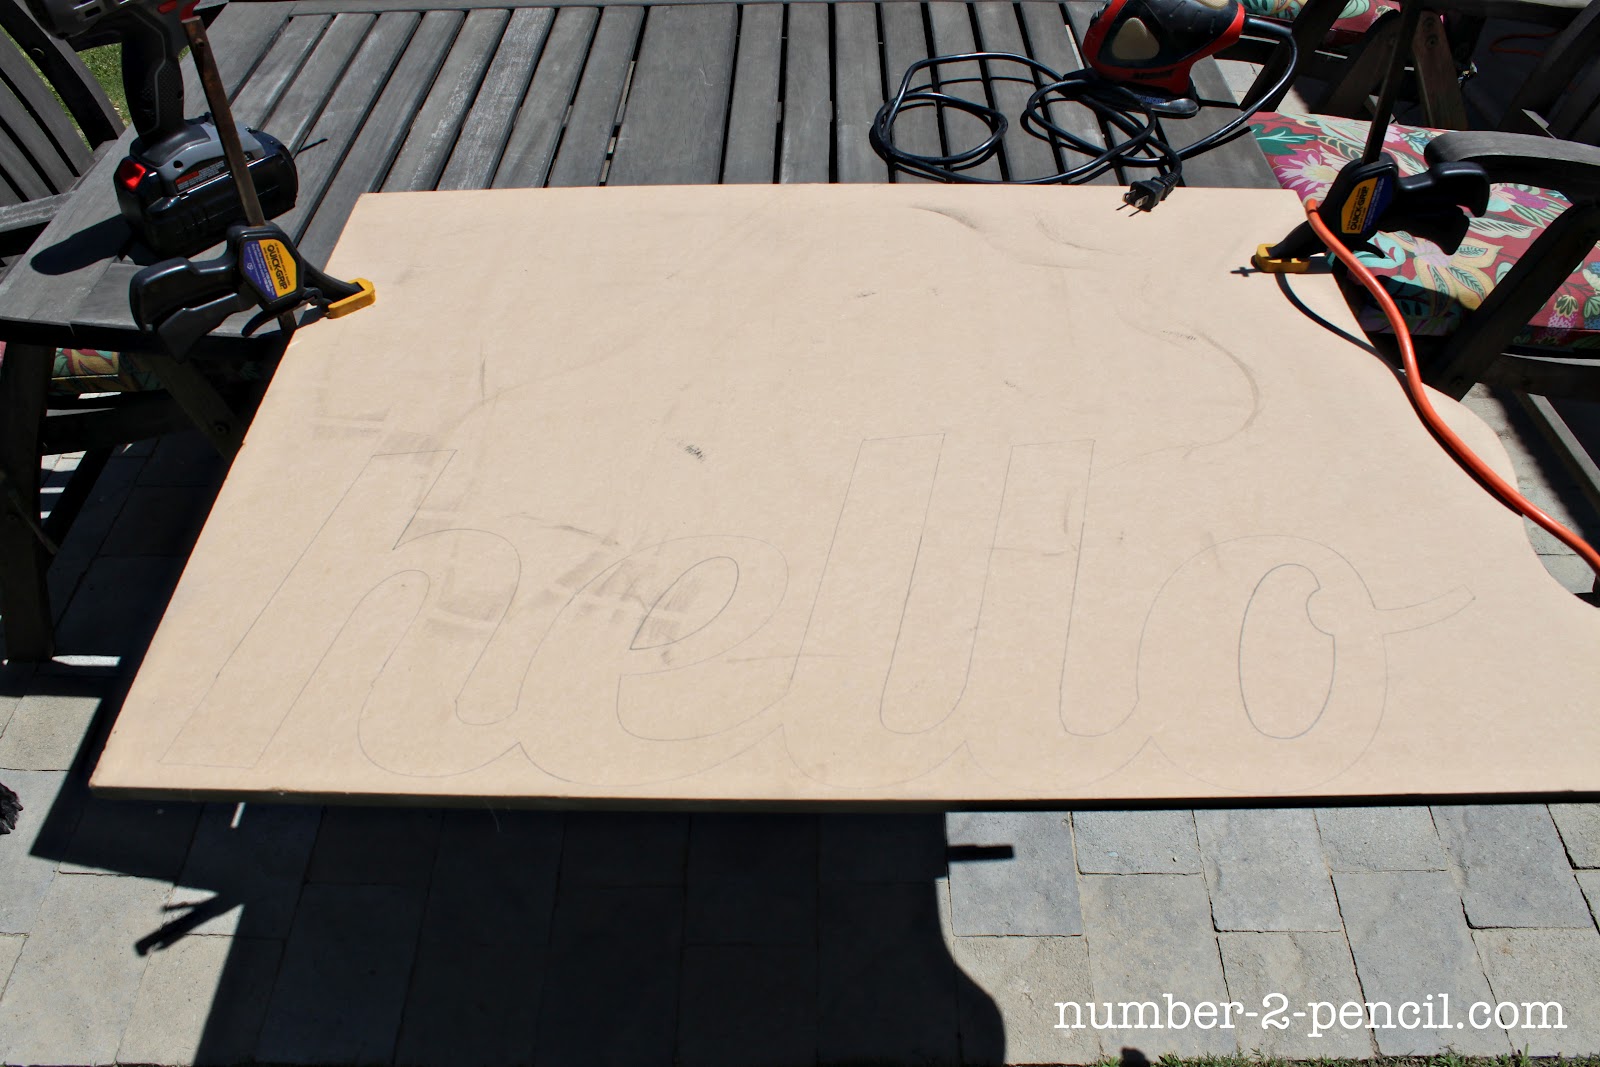
Then, I grabbed a scrap piece of mdf from the garage. I think I may have painted something on top of it, but no problem, because I’m going to paint over it!
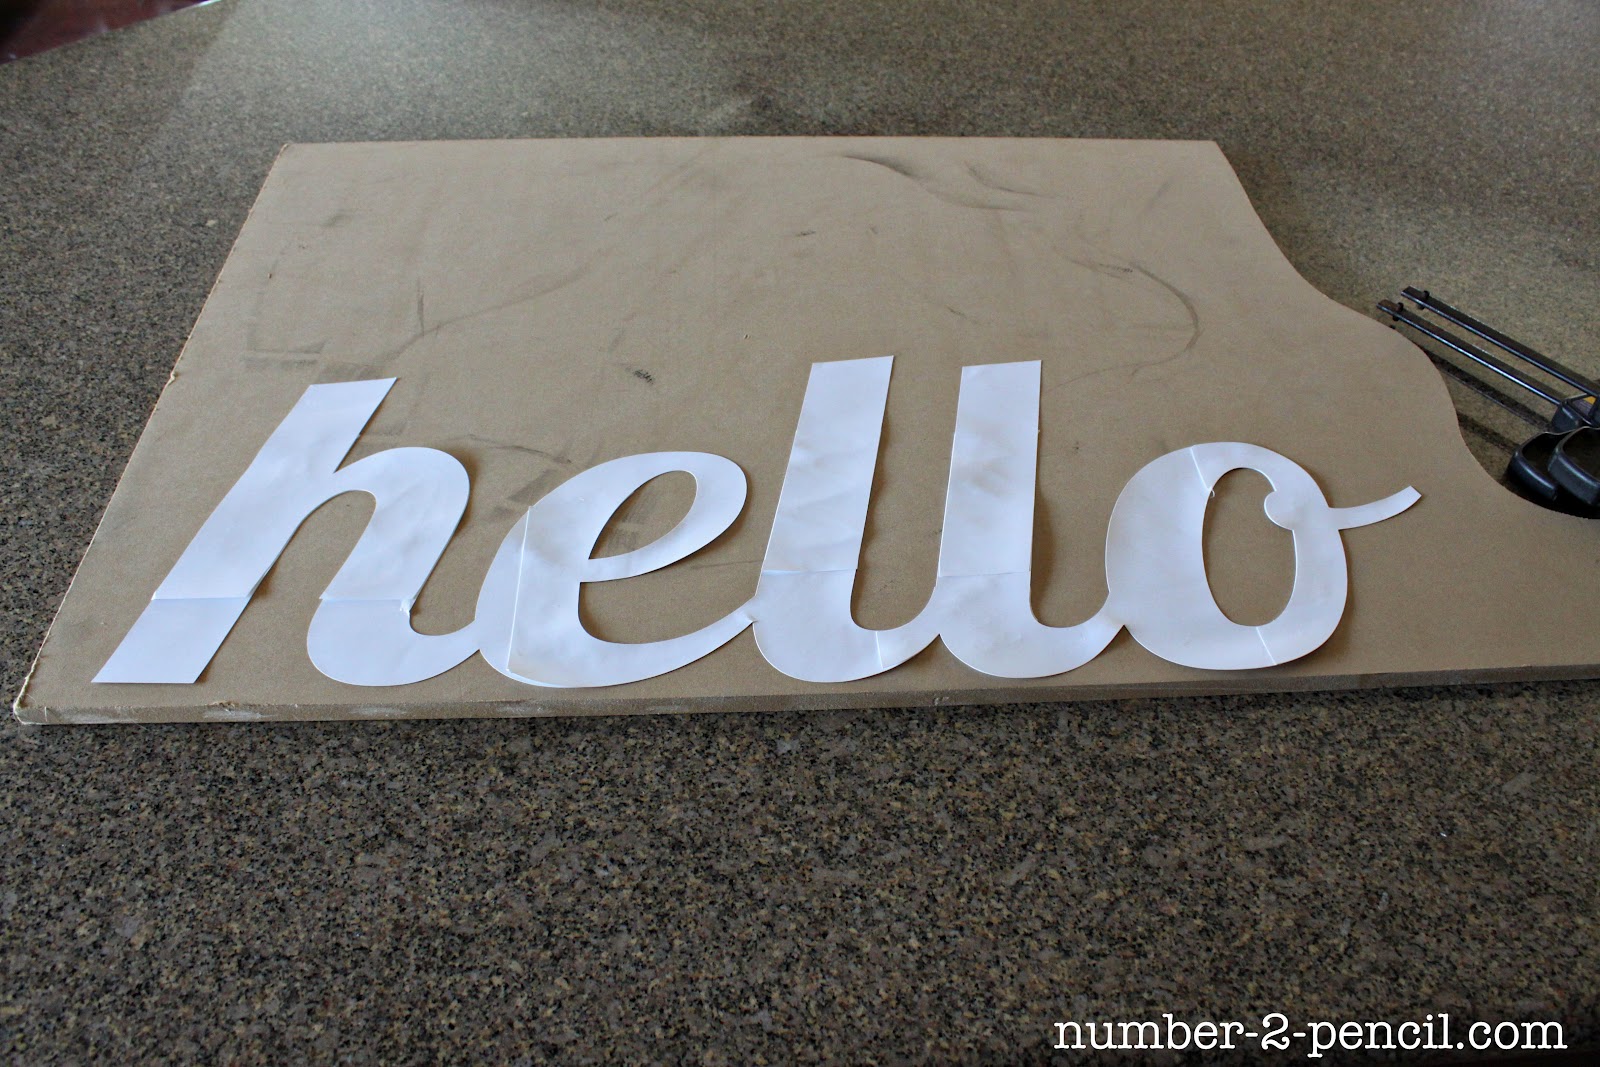
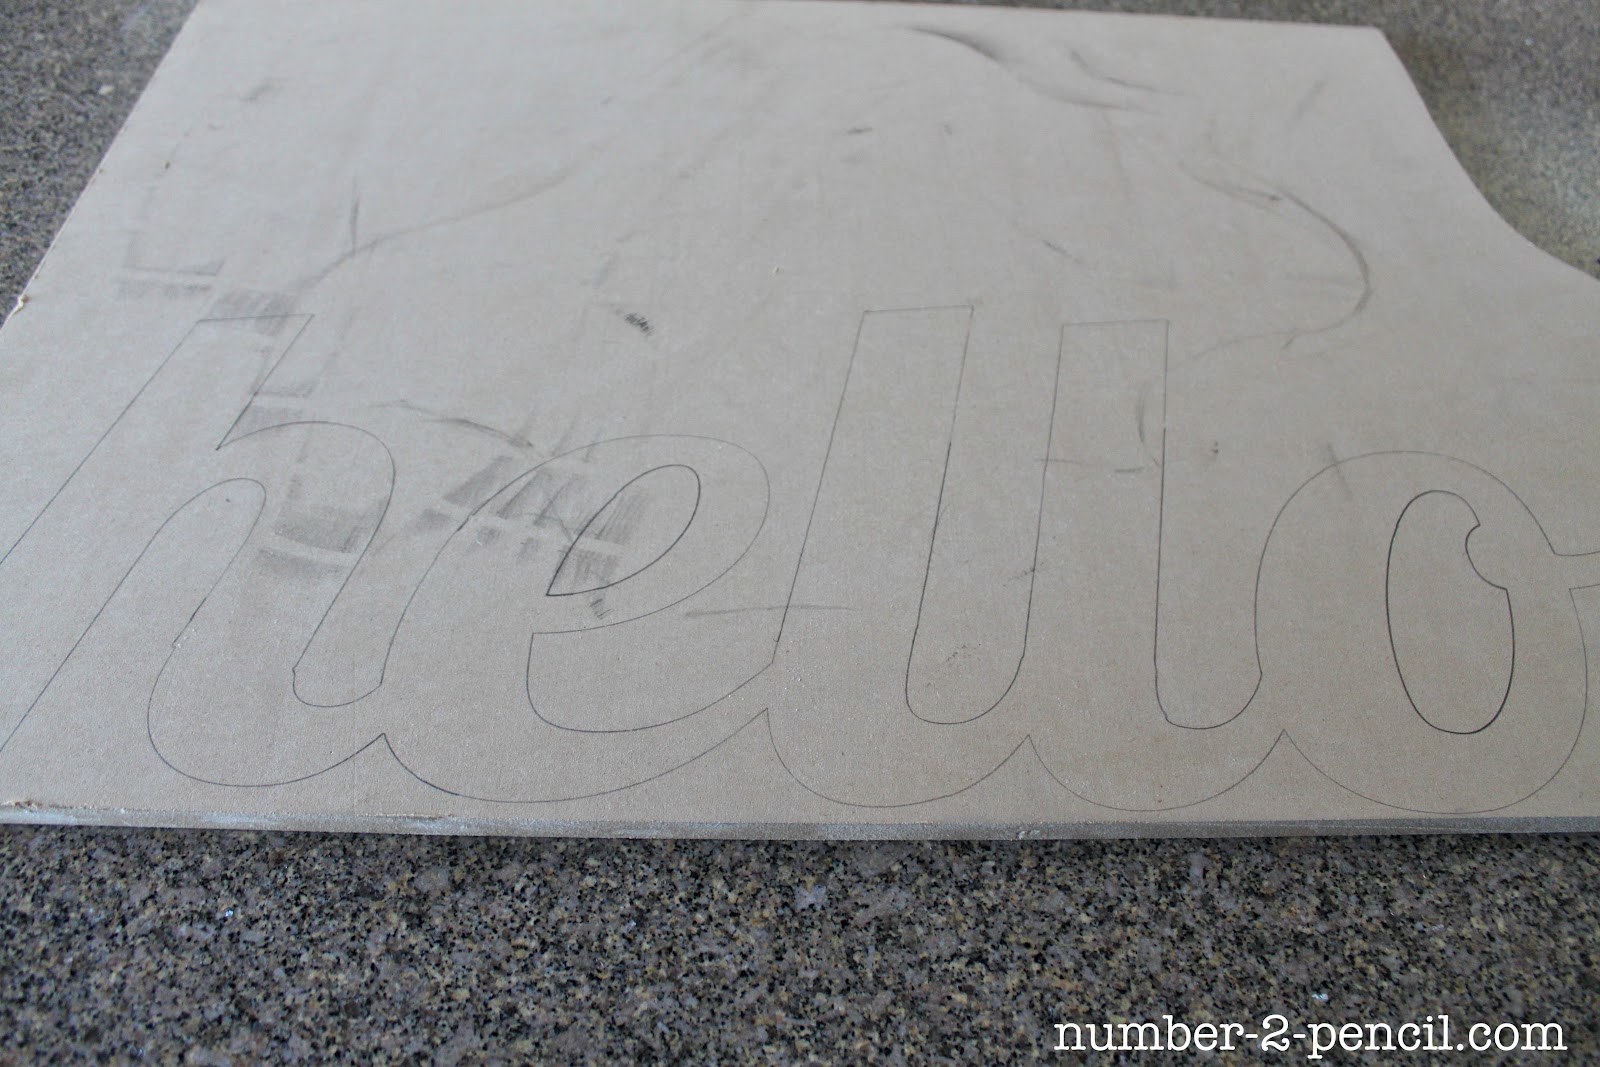
I traced around my card stock template with a pencil.
Now we move outside to cut. I’m using our old patio table as my work surface. It’s super sturdy and heavy! I clamped my piece of mdf to the table with two adjustable clamps.
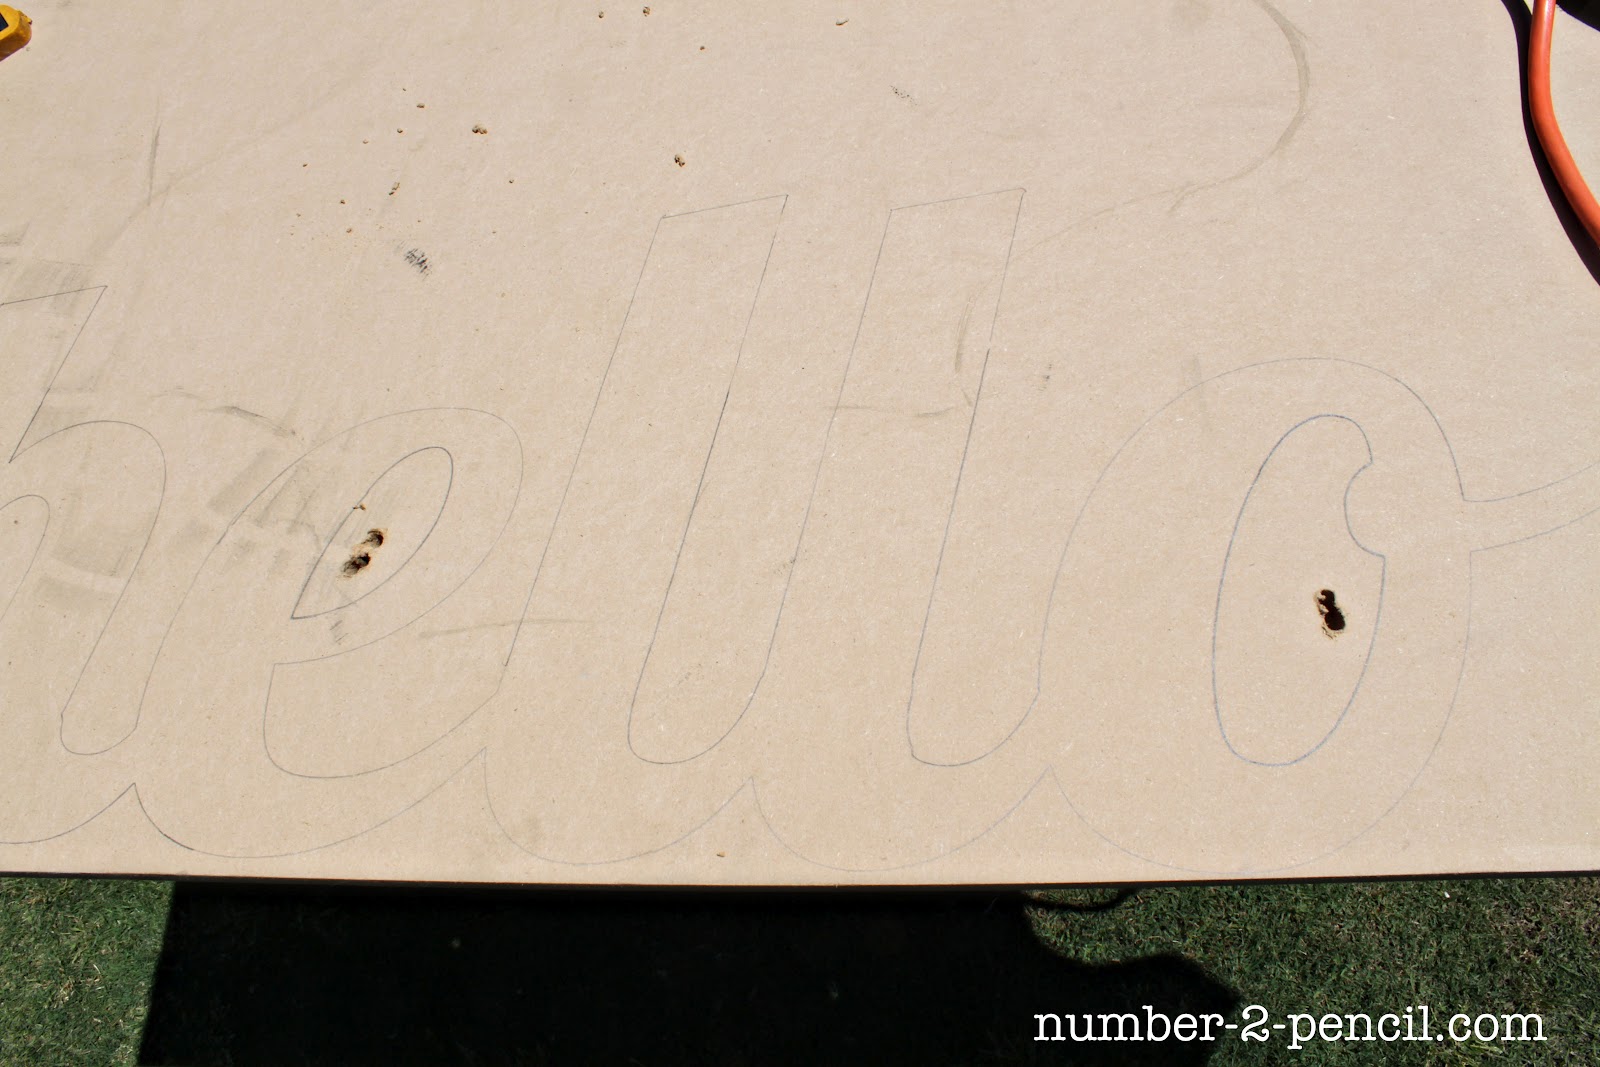
When your using a jigsaw, you want to drill starter holes where you can’t come in from an outside edge, so I drilled starter holes inside my “e” and my “o.” I could not find the larger wood paddle bits when I was doing this project, so I used the largest drill bit we had and drilled two connecting holes. You just need a space big enough to fit the jigsaw blade.
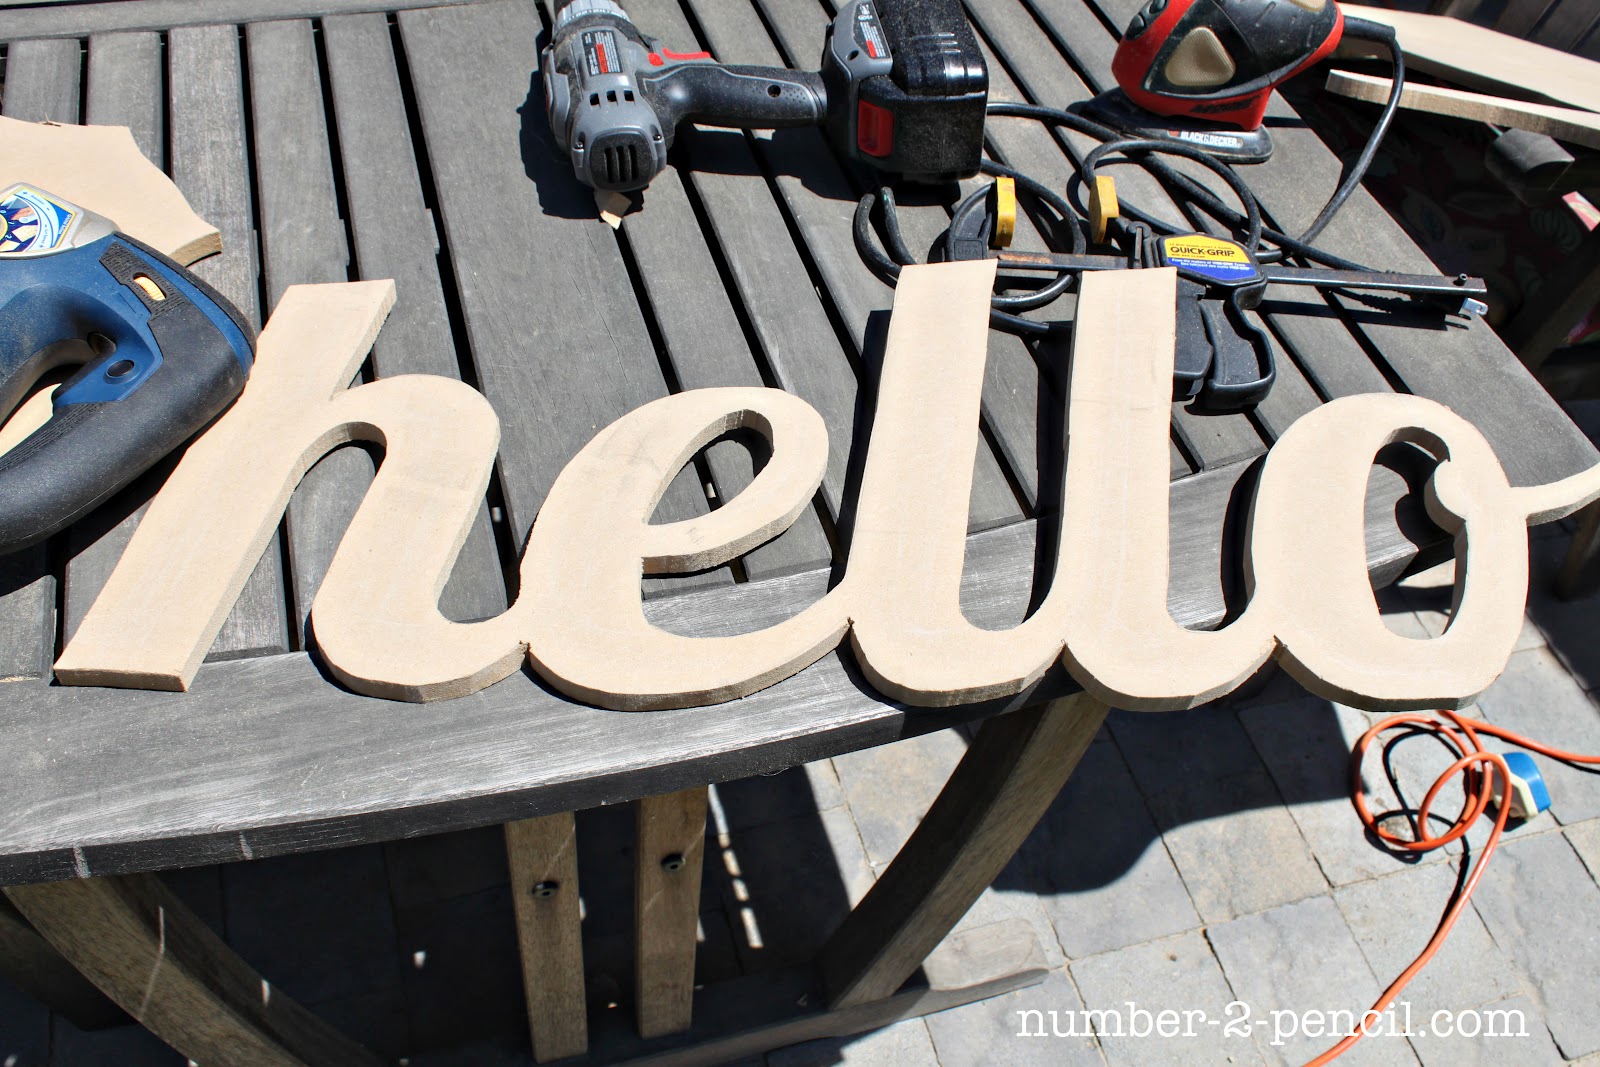
Cut your inside pieces out first, just go slow and steady and stay right on your pencil mark. The jigsaw goes around curves pretty easily. If you come to a straight turn, stop and come at the angle from the other side. I love using the jigsaw, it is a lot like sewing, but louder and messier.

It only took me about twenty minutes to cut out my hello sign. I used a mouse sander to smooth out the edges.
I moved my sign back inside and gave her two coats of my favorite paint, Martha Stewart Pencil. I am still using the same quart from the dresser and the pantry door!

Once the yellow paint was dry, I used glaze to vintage it up a little. I love the Martha Stewart Black Coffee Metallic Glaze from Home Depot. The jar was around $5 and it has lasted forever. A little goes an extremely long way. If you don’t have a glaze, you can use wood stain, or even slightly thinned down black paint.
So here is how you add a subtle vintage effect with the glaze. Pick up a tiny bit of glaze on an inexpensive stiff bristle brush and off load your brush onto a paper towel by dabbing off the excess. You only want a tiny bit on the very end of your paint brush.

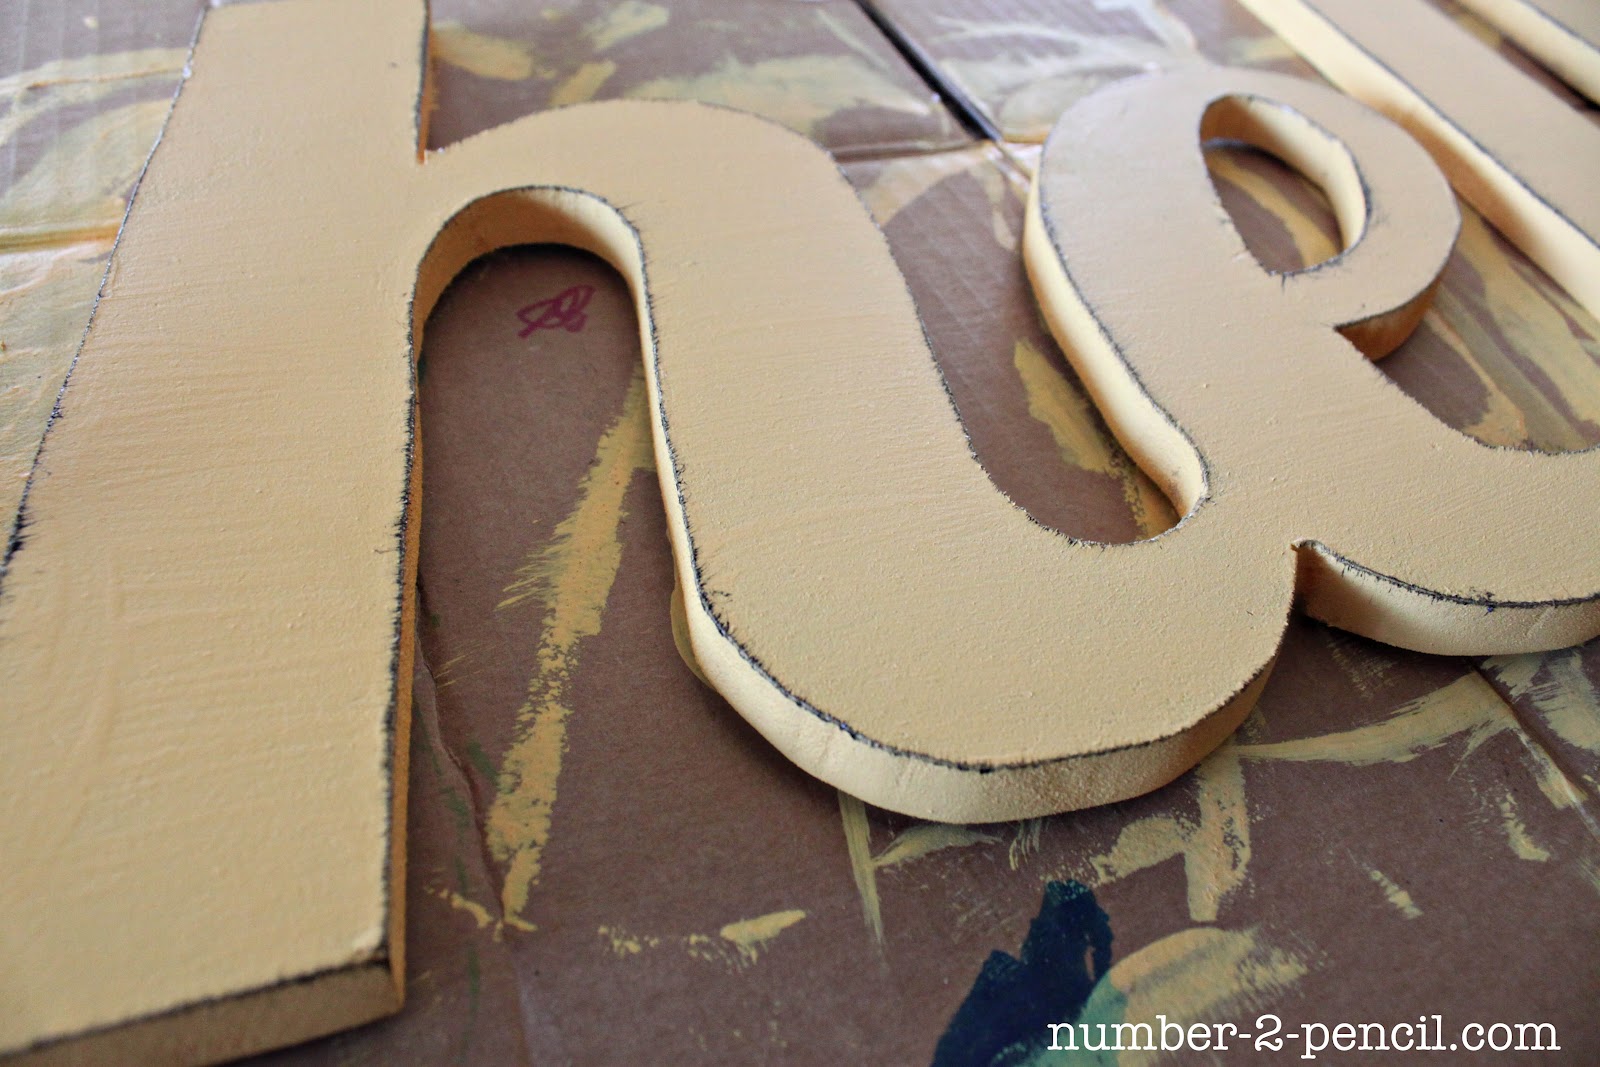
Take just the end of your brush and gently flick it across the edge of the wood.

Here is a close up. It just looks like faint scratches where the edges would naturally be beat up.

Hit the top edge all the way around. This part is super quick. It doesn’t need to be overly perfect. If you think you messed it up, just leave it. It will only get messy if you try and wipe it off. Imperfection is the goal!
Hello, here it is! I love it! I’m going to use Command Strips to mount it on the tile area above our sink, but I think it would be adorable on a shelf or even in a photo collage. I’m thinking it needs a twin that can live on our patio.
This is fairly big, but lightweight, so it would be an awesome photo prop!

I have a few more little things to finish, and then I can share the entire kitchen update.
This week, I got a chance to stop by Goodwill and I found a vintage tennis ball hopper in blue. Just sitting right there when I walked in. It’s all rusty and cute, so I snagged it and I think I’m going to use it in Max’s room to store books. Tomorrow, I’m photographing a new cookie in a cup recipe. I’m so excited to share, so be on the look out!
I’d love for you to keep up on my new posts and recipes by clicking on these cute buttons below, or follow me on Facebook and Twitter. You can also find me on Pinterest, that’s my favorite place to hang out and I’d love to see you there!
![]()


Thanks for reading!
Melissa


5 Easy Dinner Ideas for Busy Weeknights

My five FAVORITE recipes for busy families!
- Quick to make
- Light on your budget
- Easy to clean-up
- and...most important...absolutely DELICIOUS
Too cute!!!! Great directions! I’m so glad you included the close up pic with the direction of the “flicking” action. I’m a visual learner :o)
Okay, this. Is. Awesome. It makes me want to learn to use power tools. LOVE it!
I love this! Totally pinning it 🙂
OH! I am soo coveting this! Love, Love, Love it!
I LOVE the sign! I need to give this a try…if I can get Devin to let me use his jigsaw that is 🙂
I LOVE the sign! I need to give this a try…if I can get Devin to let me use his jigsaw that is 🙂
This looks awesome!
So cool Melissa!!! Awesome tutorial too, well done!! 🙂
i love it!!! your tutorial is great – i need to try this.
LOVE this, melissa! so cool!
LOVE this, melissa! so cool!
This is so COOL! Add a jigsaw to another tool I need to acquire! I love metal letters too, but they’re just too darn expensive! This turned out fantastic!
Laura ~Our Prairie Home~
Love how this turned out. Aaaaand now I have a use for that fiberboard in the garage! 🙂
Following you now from Happy Hour Projects!
Adrianne
Happy Hour Projects
Every time I see this I think of Lionel Richie…funny huh? I love it so much that I told my husband I want a jigsaw for Mother’s Day!
Hugs,
Jessica @ Mom 4 Real
Love! Looks so bright and cheery- makes me smile! You did a great job! Pinning Now! 🙂
I just saw this featured on the Silhouette Blog and I love, love, love it! I was reading a post earlier today on Sweet Pickins about how she made a very similar sign for a customer (it was red) and never even thought to use my Silhouette to create something like this beauty.
The colour is awesome as is the paint colour name!
I’ve said it before and I’ll say it again – I love the name of your blog 🙂 (It’s the teacher in me!)
That is so cute! I am totally going to make one of these!
Okay that is completely and totally weird… you see I went into our Goodwill last week and saw a vintage blue tennis ball hopper. When I went to buy it I discovered I didn’t have my wallet in your purse (don’t ask… it was one of those distracted mom moments!) So I drove back home. When I returned a little while later it was gone…. any who… I LOVE this sign and I am glad I found your blog via Silhouette!! (I have one but rarely use it because it intimidates me but that is changing as I find great tutorials like yours.)
Have a great weekend!!
I love your tutorial. Your directions are super as well as your pictures. Some tutorials may sound good to the person who has done it but are confusing to others. Yours is very complete. I so want to do this. I’ve been looking on line for a really good jig saw…but the good ones seem expensive. I have one kind of like yours but it sometimes makes a raggedy cut. Any tips? Is there a type of blade that works well? I just found your blog today and I already love it. I’m a big power tool person and I’m always looking for others like me. I’m fairly new but have projects in mind. Hope you can visit. Thanks.
I love that font! I’ve been looking to do something similar, except making the sign with a piece of plywood and paint the letters to make an oversized wall art piece. Using cardstock will totally solve the problem I was encountering with this. Thanks for the idea!
Kara
http://www.frecklesandrouge.com
such a fun project, I love the variation on the ‘eat’ sign! The more projects I see made with a Silhouette, the more I think I’m going to have to get one!
This is a great, fun project. Love the tutorial, great step by step. Can’t wait to try one of my own.
hello there indeed! i’m in love with this project! well well done! xo
https://www.NorthernCottage.net
This is AWE-some! I just adore the sweet yellow color! Hope you hop on over to my under 300 followers blog hop @ https://pinkapotamus.blogspot.com/2012/06/under-300-followers-blog-hop-5.html
I am your newest follower~
xoxo
Amie @ Pinkapotamus
Love this! Lobster and yellow are wonderful together… love the glazing trick too! I’m feelin’ that my ‘eat’ sign needs an update! 🙂
This is amazing. Thank you for posting it 🙂
Denise @ MINT&Peaches
Hi I found you thru Pinterest and I’m really enjoying looking thru your blog. Quick question about this project. Do you attach little hooks on the back? How do you hang it? Also I’ll be pinning a few of your projects. 🙂
Thanks Lacey! I mounted this on our kitchen tile backsplash, so I used the 3m picture hanging strips. I love those! I also have a picture hanging kit from Ikea with lots of little hooks and wire, I’ve used that for some of my other projects.
This is so completely awesome. I have a jigsaw…now I just need to use it!
I absolutely love this and yellow paint is so cheerful! xoxo
Such a great job! Thanks for the idea! Pinning!
This is crazy – I am redoing my room and I wanted to make a little wood sign that said “hello” but I didn’t know if I had the right tools, had to get it done, etc. That is so funny!