

I love using wood slices for projects. My Michaels store carries three different sizes, and I keep grabbing a new one every time I go by. I like that each one is slightly different, and I think they make a cool rustic surface for crafting. For this project, I used a large wood slice and my Silhouette digital craft cutting machine to create a vinyl stencil and made this cute little Rudolph silhouette.
I’m really happy with this project, all my paint lines are crisp and professional looking. My secret weapon is Mod Podge, let me show you what I mean.
Supplies needed:
Adhesive vinyl stencil created on Silhouette machine
Mod Podge Matte Formula
White Acrylic Craft Paint
Martha Stewart Crafts Liquid Gilding in Gold
Red Acrylic Craft Paint
Martha Stewart Glitter in Garnet
Mod Podge Glossy Formula (optional)
Mod Podge Dimensional Magic Gold Glitter
Paint brush
Disposable paint brush or foam brush for liquid gilding
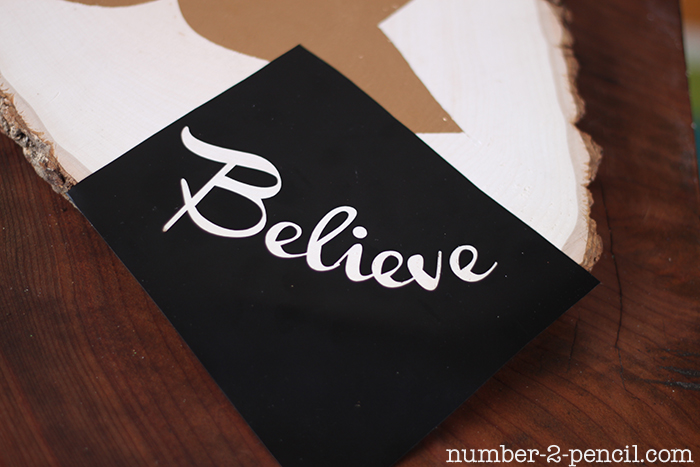
Step One: Create a vinyl stencil. I broke my project up, so I had three small vinyl stencils. The deer head, a round nose and the Believe stencil. I bought a deer shape from the Silhouette online store and cropped it so it was just the head. I used the Channel font for the Believe stencil and this tutorial from the Silhouette blog to shape my word.
Step Two: Brush the wood slice clean and lay deer vinyl on top. Seal the edges of the stencil with Matte Mod Podge. This is a tip I picked up from the lovely Allison at House of Hepworths , and it makes all the difference! Please check out her amazing sign making tutorial.

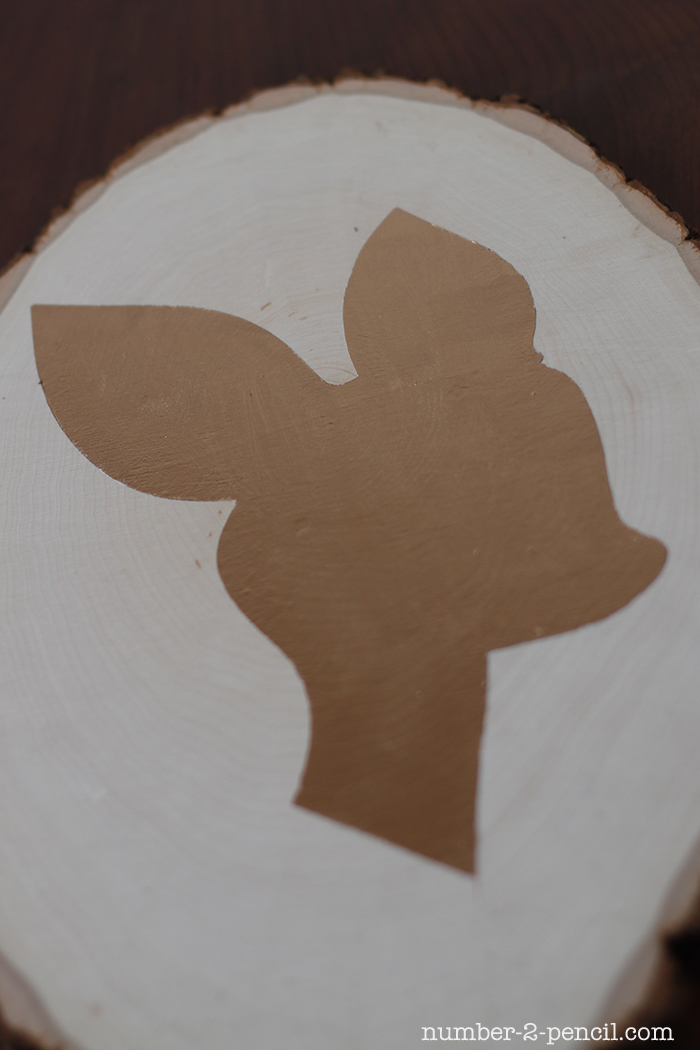
Step Three: Paint a thin coat of white craft paint. This helps the gold gilding be a bit brighter and pop off the wood.
Step Four: Paint two coats of gold gilding. The smell of the gilding is a bit strong, so make sure you work in a ventilated area. Use a disposable brush or a foam brush. The gilding does not wash off with water.
Step Five: Remove stencil while paint is still wet. This makes for perfect lines. Let deer dry before moving on to next steps.
Step Six: Lay Believe stencil in place and seal with Matte Mod Podge. Paint two coats of red craft paint. Then mix Glossy Mod Podge with red glitter in a small container, and paint two coats on as well. Remove stencil while still wet.
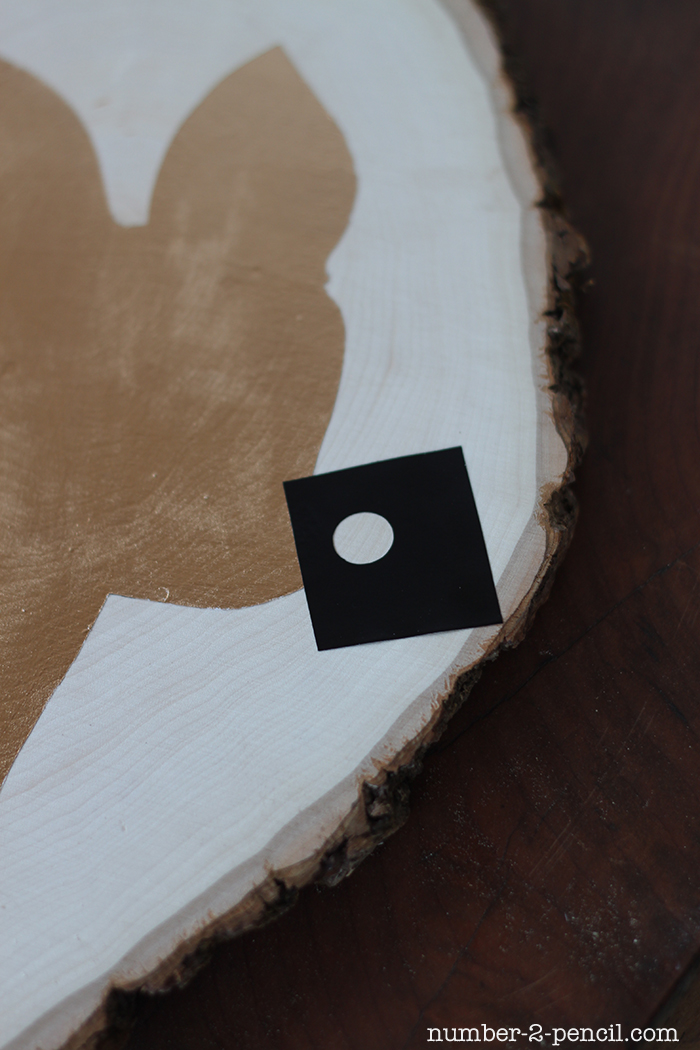
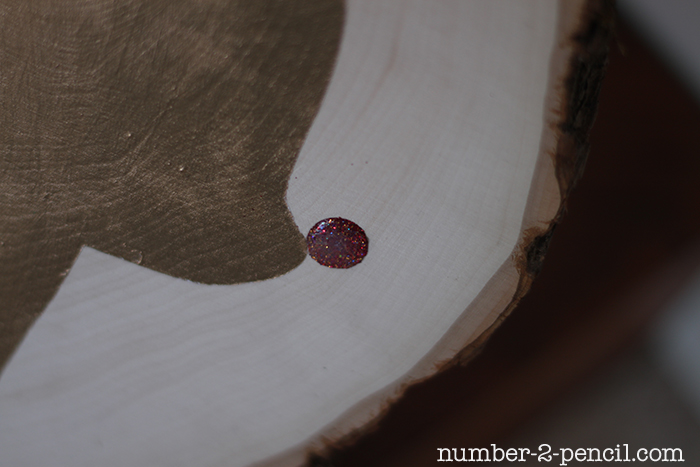
Step Seven: Lay vinyl circle stencil on wood for Rudolph’s nose. Seal with Matte Mod Podge. Paint with two coats of red craft paint and sprinkle with red glitter. Remove stencil. Let dry and carefully apply Mod Podge Dimensional magic to create a rounded nose. Leave laying flat to dry for at least 24 hours.
The little round nose is my favorite part.
I set mine on my shelf on a little plate stand, but I think it would be cute hanging from a red ribbon too. It’s hard to capture how pretty the gold gilding is in person.
I think we will leave Santa’s cookies right next to this sign on Christmas Eve, so the big guy can have a look. It seems like a craft Santa will like.

I’d love for you to keep up on my new projects and recipes by clicking on these cute buttons below, and follow me on Facebook and Twitter. You can also find me on Pinterest, that’s my favorite place to hang out and I’d love to see you there.
![]()


Linking up at: Whipperberry, Shaken Together, I Heart Naptime, Tatertots & Jello, The 36th Avenue
Looking for Christmas inspiration? Try these posts:


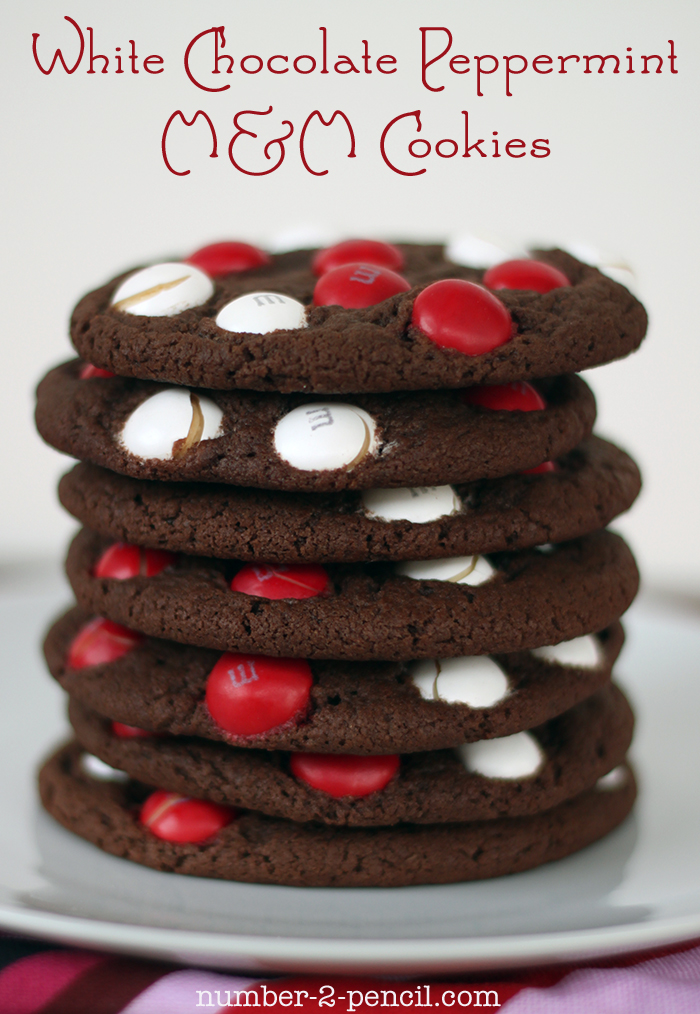
White Chocolate Peppermint M&M Cookies
5 Easy Dinner Ideas for Busy Weeknights

My five FAVORITE recipes for busy families!
- Quick to make
- Light on your budget
- Easy to clean-up
- and...most important...absolutely DELICIOUS
Melissa, lovin your stuff once again! I picked up two wood slices before Thanksgiving for a platter of sorts – I just love those things! Never thought of this. Too cute.
This is just too cute. I love this idea and the shimmery paint you used. Megan
OH my goodness, you are unstoppable, girl! That mod podge trick is amazing! When I saw the beauty shot I thought it had to be some fancy red glitter vinyl or something- So so cute!
It’s very lovely, and unique too! Thanks for sharing
This is beautiful! We saved the cut at the end of our Christmas tree this year, and this would be great do to on it! Thank you for sharing!
This is one of my favorite projects I have seen this year on the internet! I love it!!
From one Melissa to another, that is adorable, love this so much!
What an adorablr project and great tutorial!!
This is too cute!! I must scour Micheal’s to find these wood disks you speak of…thanks for sharing!
I love this! And I’m so glad you mentioned you found these slices at Michael’s because now I can actually attempt this project (I was frantically thinking where I could cut down a tree to get wood slices… ha!).
What a fun cute project! And thank you for the kind words and the link back. I appreciate it.