

A few weeks ago, I received a box from my friends at Plaid that included this super cool FolkArt stencil and some FolkArt Acrylic Paints. I thought it would be fun to use the stencil on fabric and make these stylish and colorful tea towels. I really love how they came out, and they were so easy to make. I mixed the acrylic paint with fabric medium, so even though these tea towels are painted, they can still be machine washed.

Here is what you will need to stencil your own tea towels:
Supplies
FolkArt Laser Cut Stencil
FolkArt Acrylic Paints in a variety of colors
Folk Art Fabric Painting Medium
Foam Pouncers
Washed and ironed tea towels
Work surface such as a cardboard or white foam board
Repositionable Spray Adhesive for stencils
Directions
Step 1. Lay tea towel out on work surface. Some paint may bleed through fabric, so make sure you are using a disposable work surface.
Step 2: Follow directions for fabric medium and mix with acrylic paint. For my project, I used 2 teaspoons of fabric medium mixed with 4 teaspoons of acrylic paint for each towel.
Step 3: Spray back of stencil with repositionable spray adhesive and position on tea towel. Smooth stencil onto fabric.
Step 4: Load pouncer with mixture of fabric medium and paint. Off load excess paint onto a paper towel before applying to tea towel. Fill stencil in with up and down pouncing motion loading and off loading more paint as necessary. Avoid pushing sponge down too hard as this can cause paint to seep under edges of stencil.

Step 5: Once stencil is completely filled in, remove from fabric and wash with soap and water. Do this each time to avoid messy paint smears when moving the stencil to the next section.
Step 6. Lay stencil back in place according to pattern and stencil again.
Step 7. Let fabric dry 24-48 hours, then set with low heat iron for 30 seconds. Machine wash on gentle cycle and hang dry.

Project Tips:
1. I had no paint smears or edge bleeding with this stencil project. I attribute that to the repositionable spray adhesive and washing the stencil before moving onto the next section. Though it took a little extra time, it made for an absolutely clean project!
2. I wanted my tea towels to have a more vintage/handmade feel to them, so I only did one coat of paint. For more coverage, add a second coat of paint.
3. Since I plan to display my tea towels folded in thirds as pictured, I only stenciled down the middle of my towels.

I just love how they turned out, and they look so bright and fresh in my kitchen. These would make beautiful and thoughtful personalized gifts too. Perfect for a hostess gift or a bridal shower.
For more ideas find
Plaid on Facebook
Plaid on Twitter
Follow Plaid on Pinterest


I wrote this post as part of a sponsored campaign with Plaid and The Blueprint Social. All opinions in this post are my own.
You may also like:
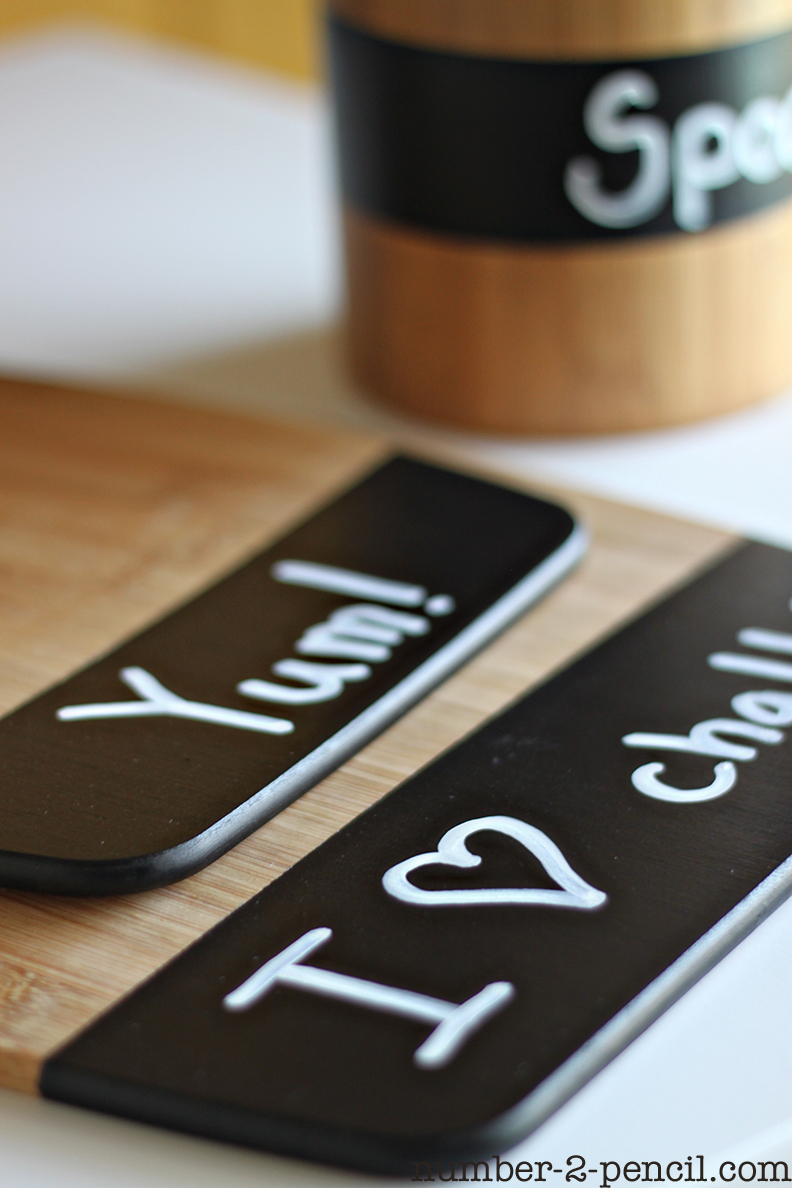
DIY Cutting Board and Dipped Spoons
Linking up with: The 36th Avenue, Tatertots & Jello, I Heart Nap Time, Frugal Girls, Six Sisters Stuff
5 Easy Dinner Ideas for Busy Weeknights

My five FAVORITE recipes for busy families!
- Quick to make
- Light on your budget
- Easy to clean-up
- and...most important...absolutely DELICIOUS
These turned out so cute! I love the partially worn vintage feel that only doing one coat of paint lends to it. Great job.
This is too cute… Thank you so much for sharing it 🙂
Oh my your tea-towels turned out super cute!!!
Wow! I love these! I’ve been considering making my own tea towels (and then perhaps a few as gifts) – and these are wonderful! (And honestly, I’d never heard of fabric medium before… that’s something I’ll have to hunt down at the craft store)
Thanks for the great tutorial!
Visiting from TT&J, great idea. Thanks for the inspiration.
Love these Melissa!
Thank you so much Cheryl!!!
This is so adorable! This is going on my projects list for sure. Thanks for sharing.
Gloria @ resourcefulgals.blogspot.com
These are great! I would love for you to join the Pinworthy Projects link party! https://www.atkinsondrive.com/pinworthy-projects-party-week-14/
Wow, these are amazing! I am pinning this. Thanks for sharing. Stopping by from TT&J 🙂
RamblingReed.blogspot.com
Beautiful, as always my friend!! I just pinned. These are awesome – I love your colors!!
Thank you, thank you, thank you! xo
What a simple way to do towels, and would also be a great gift. Who doesn’t need cute towels? I like the idea you would do the color of you own kitchen also. The ideas are endless..
love these! what adorable gifts these would make in addition to keeping a couple! : ) where did you get the tea towels? they are all prices ==== 100%? LOVE your blog! cute ideas!
These are fab, perfect to make as a housewarming gift!
Hi, there! I added this craft to my DIY Mother’s Day Gift blog post today {https://seefritz.com/2013/05/homemade-mothers-day-gifts/}. I love the idea! Thanks for the inspiration. Hi, there! I added this craft to my DIY Mother’s Day Gift blog post today {https://seefritz.com/2013/05/homemade-mothers-day-gifts/}. I love the idea! Thanks for the inspiration.
Hi, there! I added this craft to my DIY Mother’s Day Gift blog post today {https://seefritz.com/2013/05/homemade-mothers-day-gifts/}. I love the idea! Thanks for the inspiration.
Thank you so much Lauren! xo
Forgot to mention, if you use Martha Stewarts paint I think it can go on anything, I am not sure you can wash it, but I assume so. Since you could use it on fabric also.