I’ve been working on some updates in my kitchen, and I’m excited to share these colorful painted bamboo spoons and chalkboard kitchen accessories. I made them using some really fun supplies I received from Plaid. I am thrilled with how they came out, and I love the fresh look and pops of color in my kitchen!

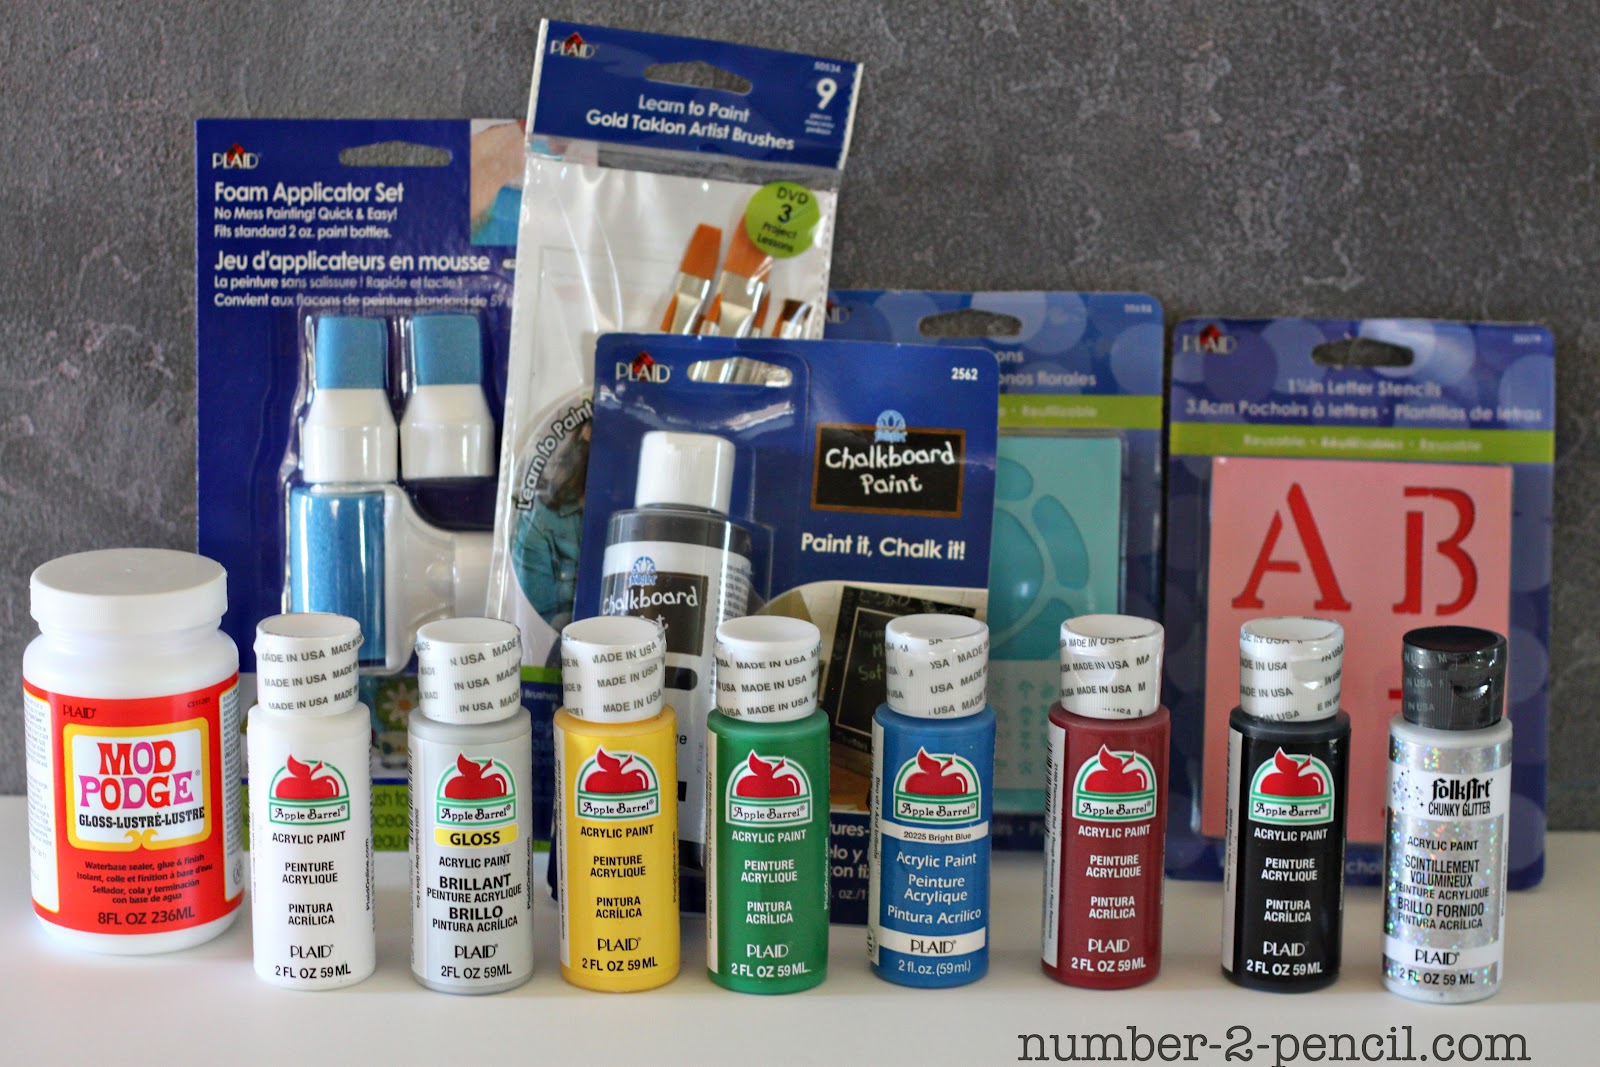
The box I received had so many fun things: colorful paint, stencils, Mod Podge, chalkboard paint (my fave!), and new brushes and applicators. It also had a gift card to Walmart, to shop for a surface to update with my new supplies.
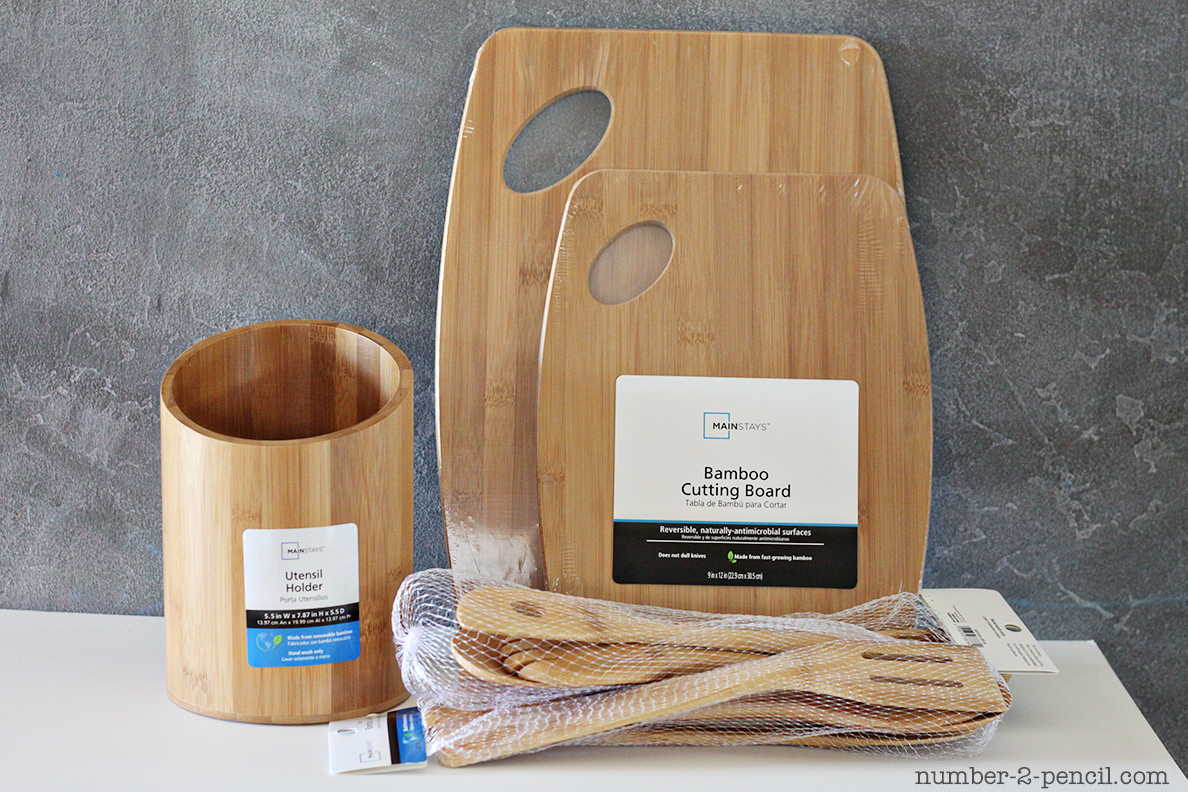
So I got up early on Saturday morning, and headed to Walmart. I cruised the store and found some fun and affordable bamboo kitchen accessories. Perfect!

I came home with two bamboo cutting boards, ten (!) bamboo spoons and a new utensil holder. All of this came in right at $25.
Ok, let’s get ready to paint some bamboo!
Supplies needed:
Plaid Apple Barrel Acrylic Paint
Plaid Chalkboard Paint
Small paint brush
Foam applicator set
Painter’s tape
Fine grit sanding block
Chalk, chalk ink pen (optional)
Bamboo wooden spoons, cutting boards, utensil holder
Chalkboard Cutting Boards and Utensil Holders
Step One: Use painter’s tape to define the area you want to paint.
Step Two: Use the rolling foam applicator from Plaid that screws onto the bottle to roll the paint on. Let chalkboard paint dry between coats. I rolled on three coats.
Step Three: Carefully, remove painter’s tape while paint is still wet to get a nice crisp paint line.
Step Four: Let chalkboard paint dry overnight before using. Lightly rub chalk over chalkboard surface to condition, wipe off with damp towel. Write your message using chalk or chalk ink markers.

I also taped off my utensil holder and rolled on three coats as well. To get really clean, straight lines, avoid rolling into the edge of your tape. This will push the paint under the edge of the tape. Start on the tape, and roll half way down so you don’t run into the next piece of tape. You can see in this picture that I rolled the paint on vertically, not side to side, which can also push paint under the tape. Chalkboard paint adheres really well, so I choose not to sand these pieces prior to painting.

Painted Bamboo Spoons
Step One: Tape off the area to paint with painter’s tape.
Step Two: Use a fine grit sanding block to lightly sand the area you will be painting. Sand in the direction of the wood grain. Wipe sanded area with damp paper towel or baby wipe to clean.
Step Three: Use a flat paint brush and brush on several coats. Let each coat dry before adding another.
Step Four: Remove painter’s tape while paint is still wet. Allow paint to dry. I used cups to stand my spoons up in while drying.

Plaid Apple Barrel and Chalkboard paint is water based and non-toxic, so I feel safe using it on my kitchen spoons and cutting boards. I don’t plan to have the painted area touch food if I can help it, that way they will stay pretty for a long time. I’ll also wash them with warm water and mild soap.

I plan on using my new chalkboard cutting boards as serving trays at parties and family get togethers. I think they will be fun to use as a cheese board and write the types of cheese on it, or for other appetizers, just write a general fun message like enjoy! or yum! I love these so much! The Plaid chalkboard paint went on so smoothly, and I used chalk ink markers to write on them. I’m in love! I’ve made homemade chalkboard paint before, and this is so much nicer! It’s like a real store bought chalkboard. Smooth and shiny!

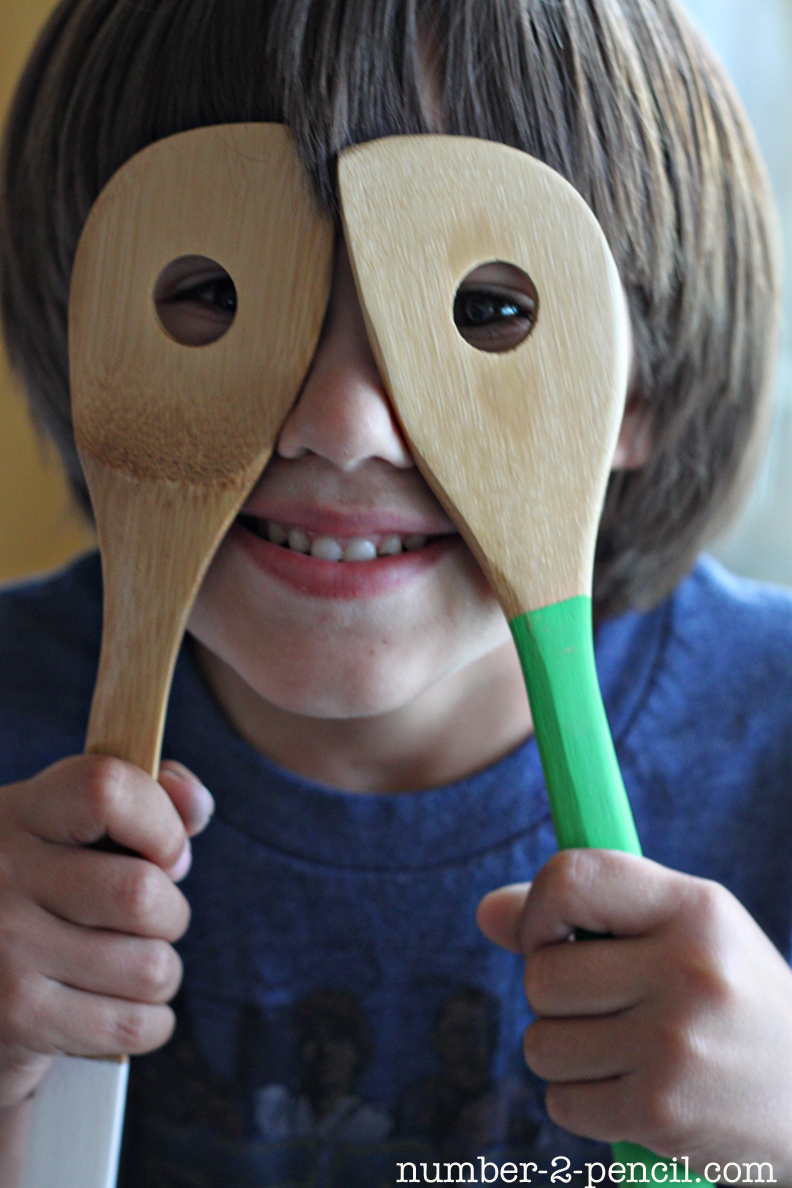
I am also in love with my colored spoons! The Plaid Apple Barrel acrylic paint covers so well, and the colors are bold and beautiful. For the lighter green spoons, I mixed the yellow paint and the green paint together to come up with my own color. The pack of 5 spoons was under five dollars, so they would make a cute and affordable bridal shower or hostess gift. Pair them with some new dish towels or a new cookbook, so cute!

My little guy wanted to show you one more way you can use the spoons!
The Plaid craft supplies, and the surfaces I used are all available at Walmart. I really appreciate being able to shop at just one place for a project, especially when I have my kiddos with me!
You can find more inspiration and projects here:
Plaid Crafts on Pinterest: https://pinterest.com/plaidcrafts
Plaid on Facebook: https://www.facebook.com/InspiredByPlaid
Plaid on Twitter: https://twitter.com/plaidcrafts/
Wal-mart Crafts on Pinterest https://pinterest.com/walmart/
I wrote this post as part of a paid campaign with Plaid Crafts and Blueprint Social. The opinions in this post are my own.
You can keep up on new posts and recipes by clicking on these cute buttons below or follow me on Facebook or Twitter. You can also find me on Pinterest, that’s my favorite place to hang out! I’d love to see you there!
![]()


Thank you for reading!
Melissa
Check out all the PLAID/Walmart projects from my friends, so many awesome ideas!

 is where I linked this up!
5 Easy Dinner Ideas for Busy Weeknights

My five FAVORITE recipes for busy families!
- Quick to make
- Light on your budget
- Easy to clean-up
- and...most important...absolutely DELICIOUS
This looks amazing!! Great job!!
Love it ALL! 🙂
very colorful and bright idea!
cute kiddo too!
gail
Looks great, Melissa! Love it!
Cute!! I need to get that paint roller that fits on the bottle….genius idea!
Love the colors and the chalkboard! Your little fellow is so cute!
Beautiful! What a great idea!
So creative!!! Love them!!! That screw on roller is genius!!!!
Looks great! Love the chalkboard paint! 🙂
Great job! Love the easy step by step tutorial!
Love this! You are so creative! I love your blog! Found you through Inspired by Charm. Thanks for sharing all of your ideas. Looking forward to your future projects.
This is AWESOME!
Such a great project Melissa!! Love them!!
This is a great post. Very creative 🙂
I love the bamboo untensil holder! Looks so fresh and fun. Might have to make a Wal Mart trip for the cutting boards, as well. Thanks for sharing!
I love the way your project turned out! So glad I found your blog through the modge podge group!
I pinned and plan on sharing tomorrow : )
Ginger
I LOVE THIS PROJECT, so darn cute. Great job! winks, jen
This is really, really cute! Love the colors and the painted spoons are phenomenal.
I love this. It’s amazing how the paint colors and chalkboard totally transformed the whole look! Great tutorial too!
This is really cute and fun. Thanks for sharing. 🙂
Jess
https://thedelightfulcrafter.blogspot.com
Neat idea!!
Excellent work is done on this project, specially the painted bamboo spoon, these spoon are really special to me. Thanks for sharing this.
eva solo
Cute!! I need to get that paint roller that fits on the bottle….genius idea!
Apple Accessories
Can these go on the dishwasher or will they fade?
I always wash my wood utensils by hand! Mine still look great after a year.